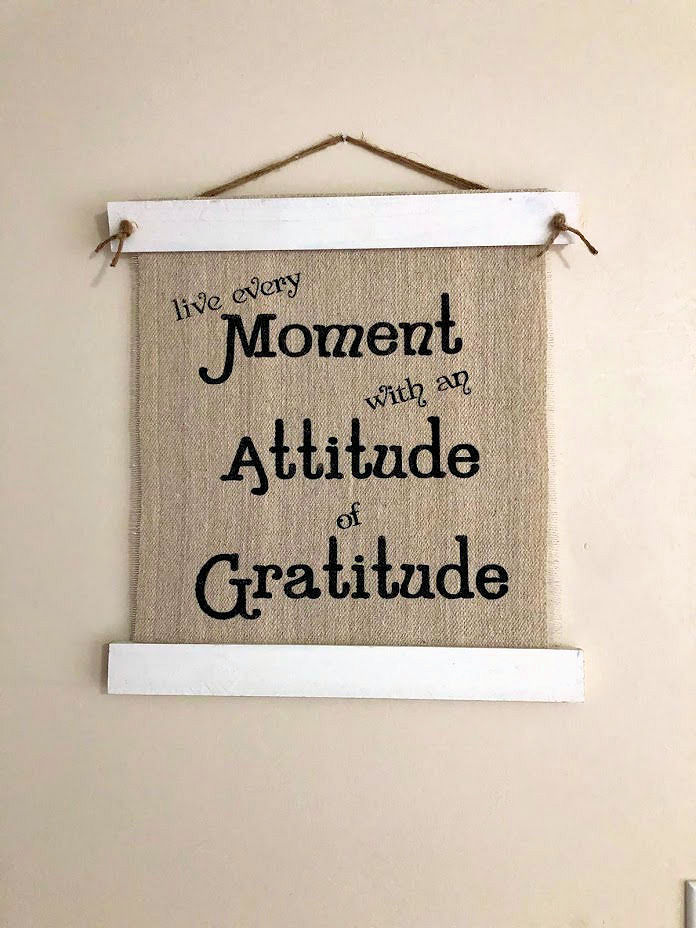
In this day and age, there seems to be so much strife among people, that most tend to forget to be grateful for what we do have. I for sure wanted to remind myself to stay in the mind frame of gratefulness. This being the main inspiration for this creation. I have seen a lot of things done with painters canvas and wanted to do something with that as well. Therefore I put the two together and created my project.
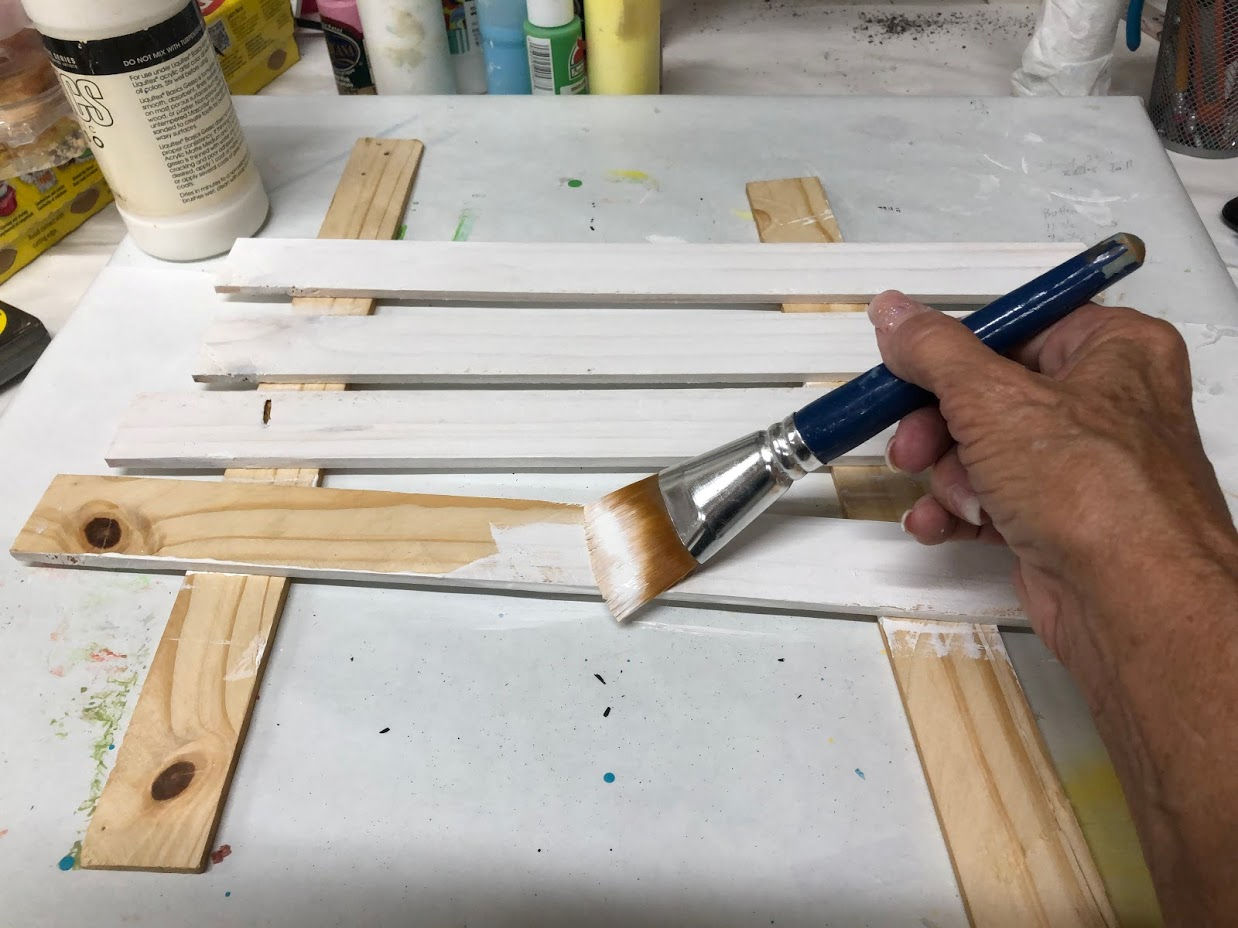
I had on hand some of these wooden strips, (my dad had cut for me out of 2×4’s), I wanted to use them to make the top and bottom of the hanger. First decided how big I wanted the sign, cut them appropriately and gave them a coat of primer to be drying.
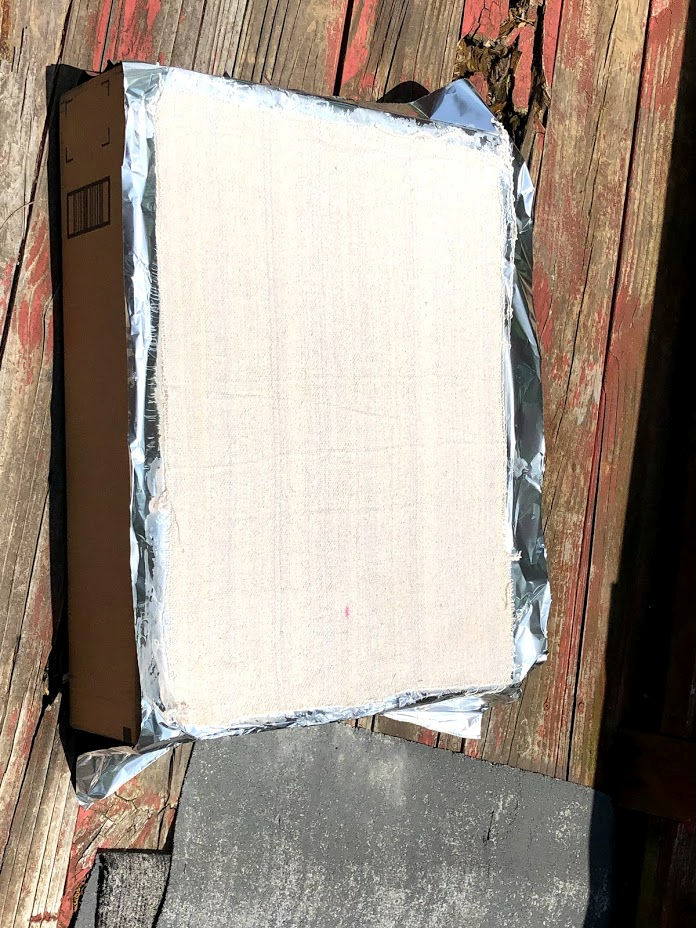
While my wood was drying I cut my canvas to about 10 inches longer and 4 inches wider than the actual size I wanted for the project. This would give me the amount I needed to go around the wooden top and bottom, then be able to trim the sides and ravel them a little. I mixed up some glue and water, soaked the canvas in it and laid it out in the sun to dry. This would make the canvas a little stiffer to work with.

While both wood and material were drying, I went into Silhouette Studio and created my design. Using my Cameo, I cut it out as a stencil on shelf paper. I could have at this point used an iron-on vinyl, yet I really wanted the rustic painted look vs the clean-cut look of vinyl.
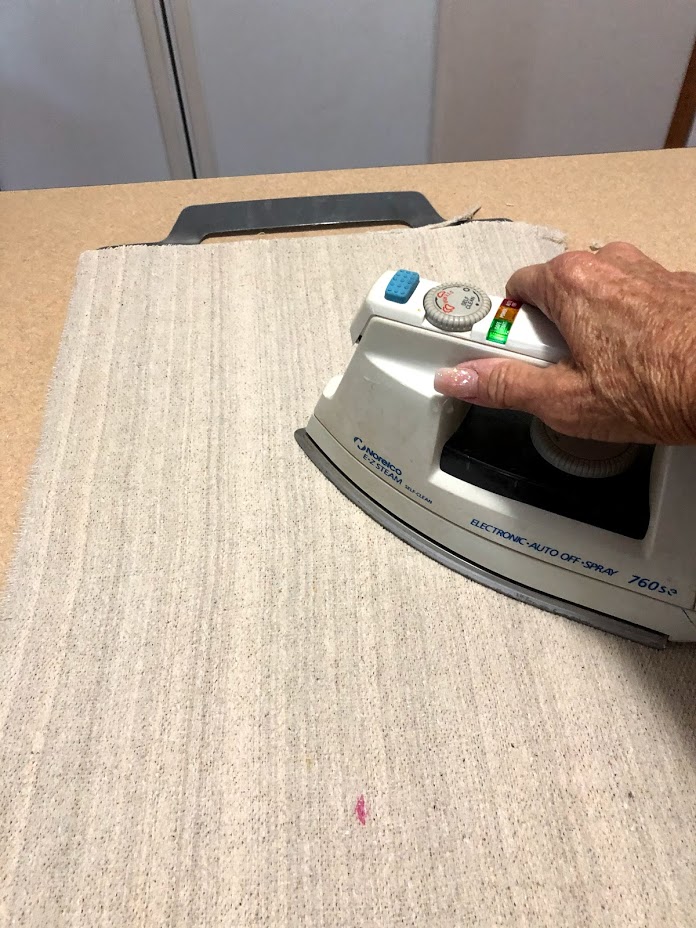
By this time the material was dry, with the sun shining and it laying on a piece of foil. I then ironed it to get rid of any wrinkles that might have appeared. I also stepped into the shop and gave my slates a nice coat of white paint.
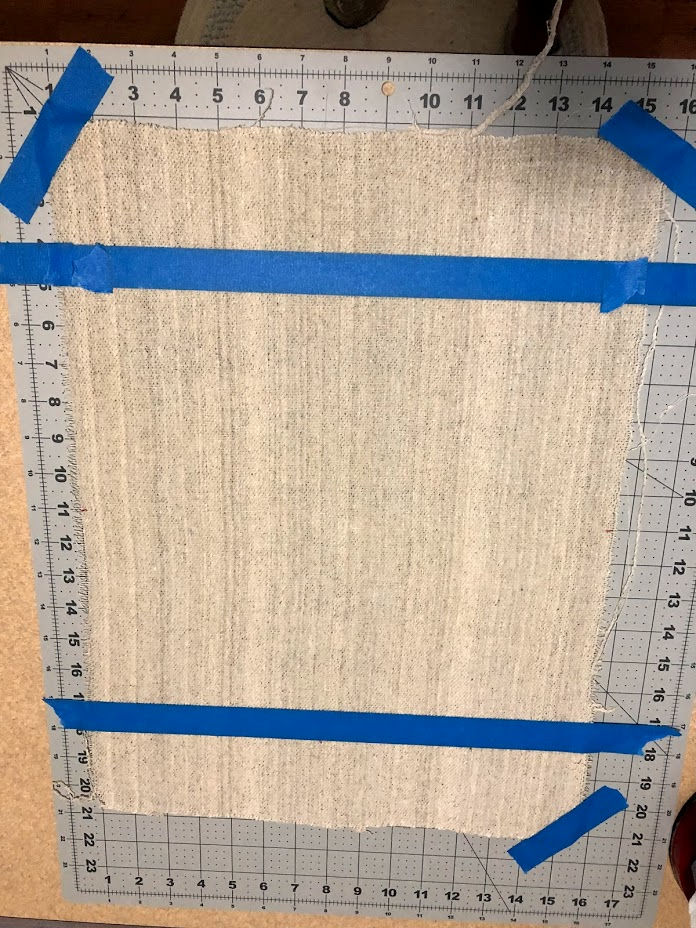
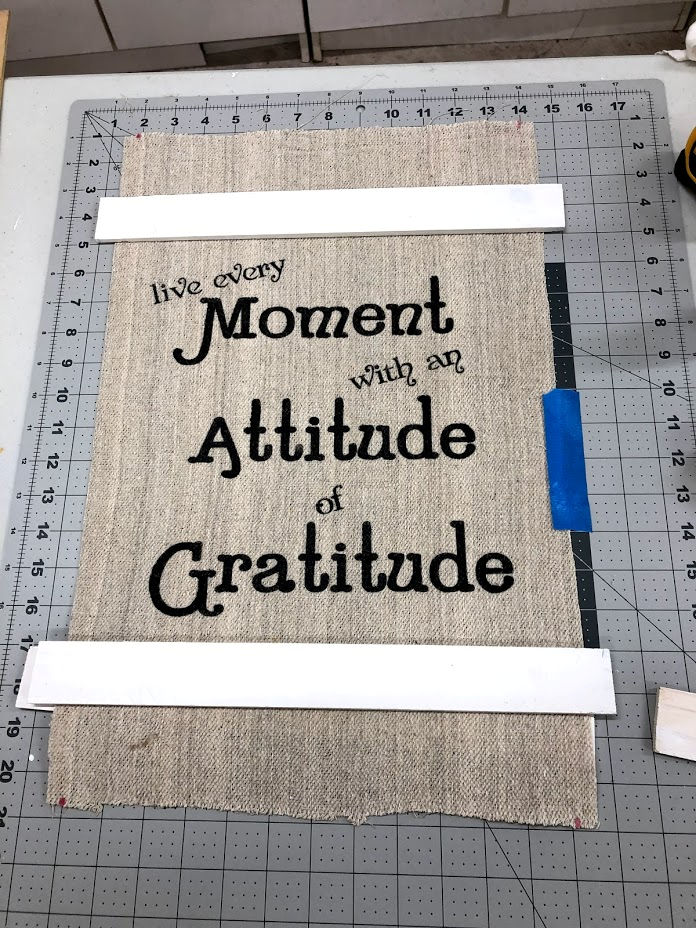
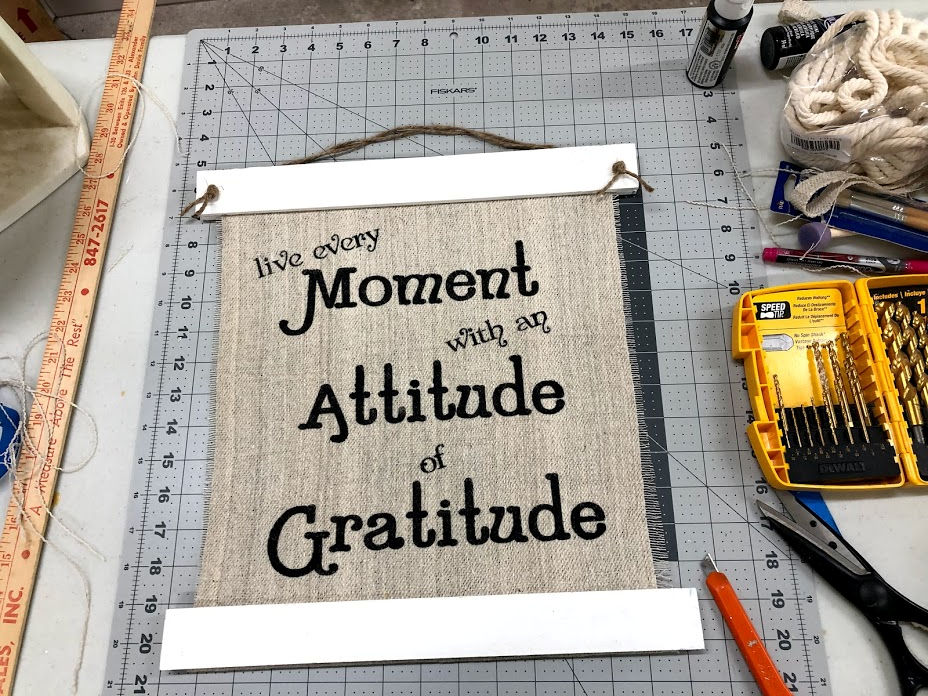
Now I have it all laid out on my mat and the area where the design is taped off as well.
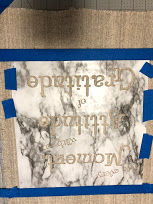
Placing the design on the canvas and pressing it as much as it would press, I also taped it in place because it will not stick down really well and I did not want to use spray glue on the back of the stencil due to glue residue.
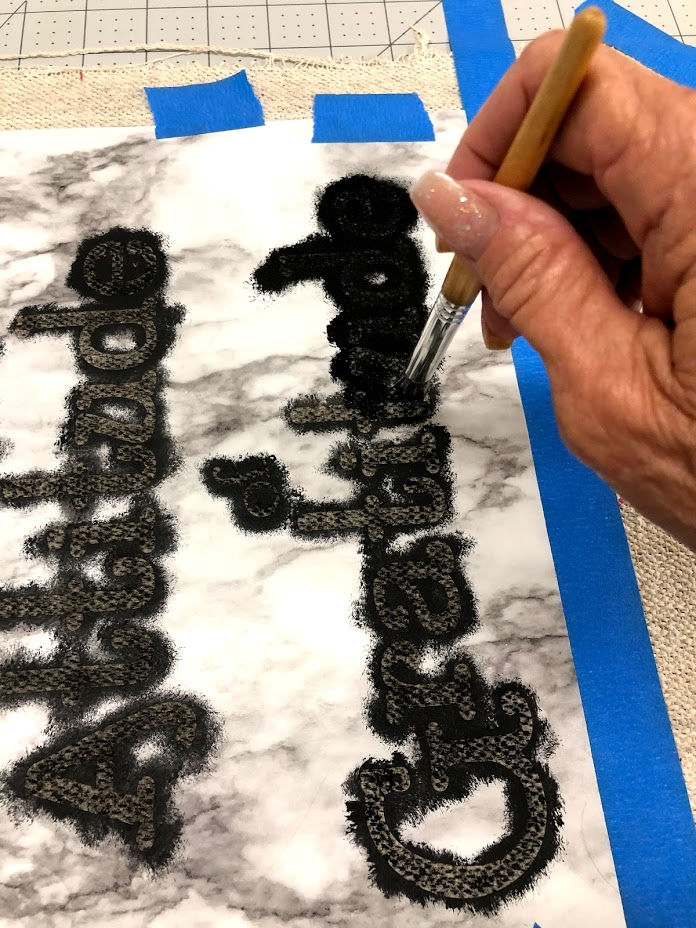
The best way to paint using a stencil on the material of any kind is to do several light coats of paint, letting them dry between coats. Another major part is to dab with the brush making sure to always have the brush upright. Any side motion and the paint could run under the stencil.
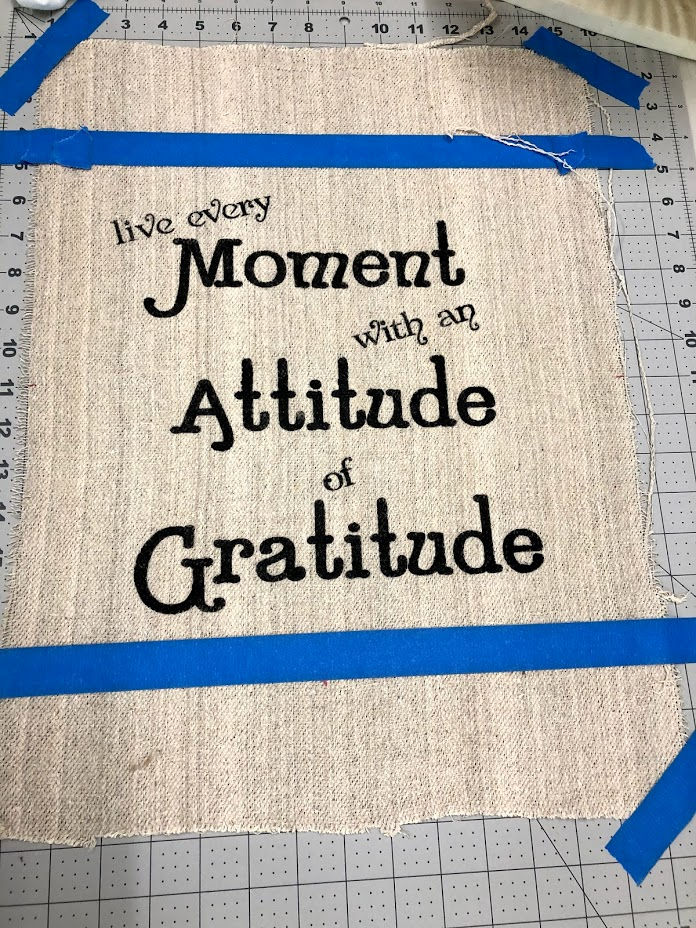
My tape still being in place told me exactly where to place my wood pieces.
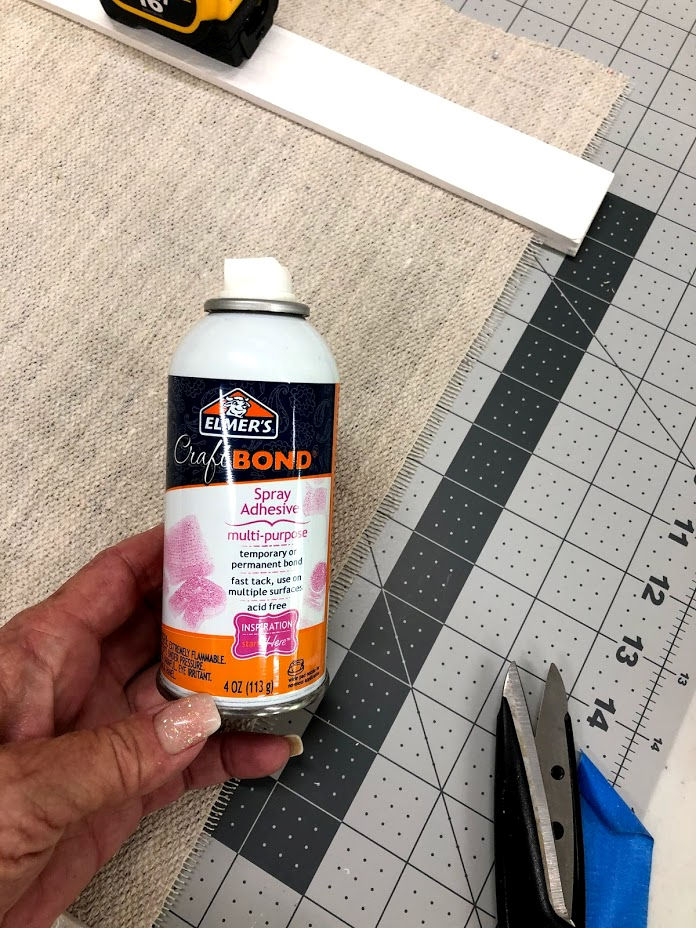
Using a spray on Adhesive, I sprayed the wood slat then laid it onto the material lining up to the edge of my tape.
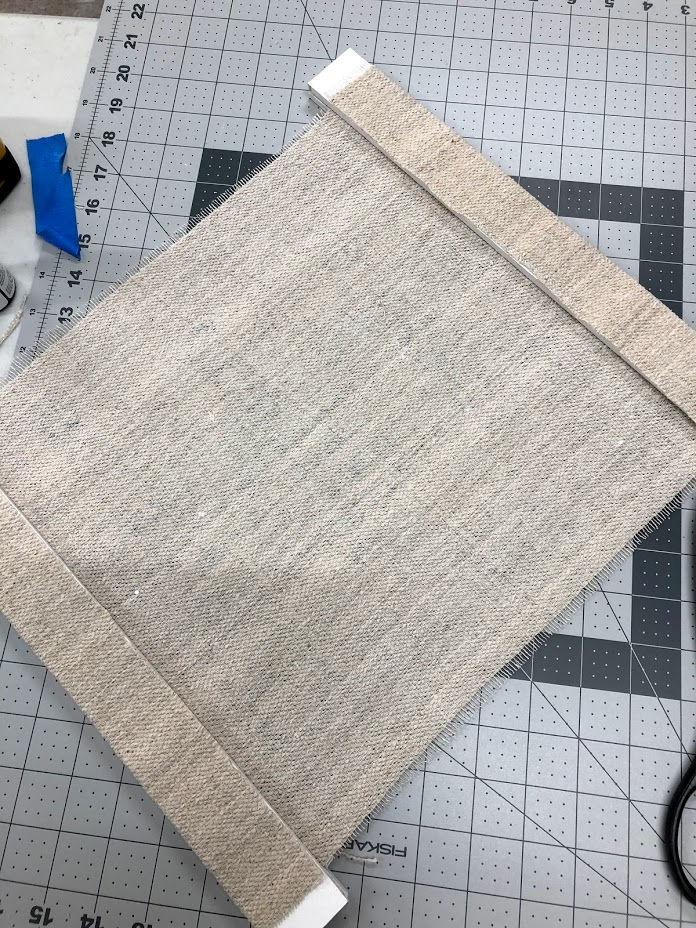
I sprayed the backside of the material and folded it over the first wooden slat, pressing so it would hold really well. Trimmed it off right to the edge. Sprayed the adhesive on the second slat and placed it on top of the folded piece of fabric. The same process was done for the bottom pieces as well.
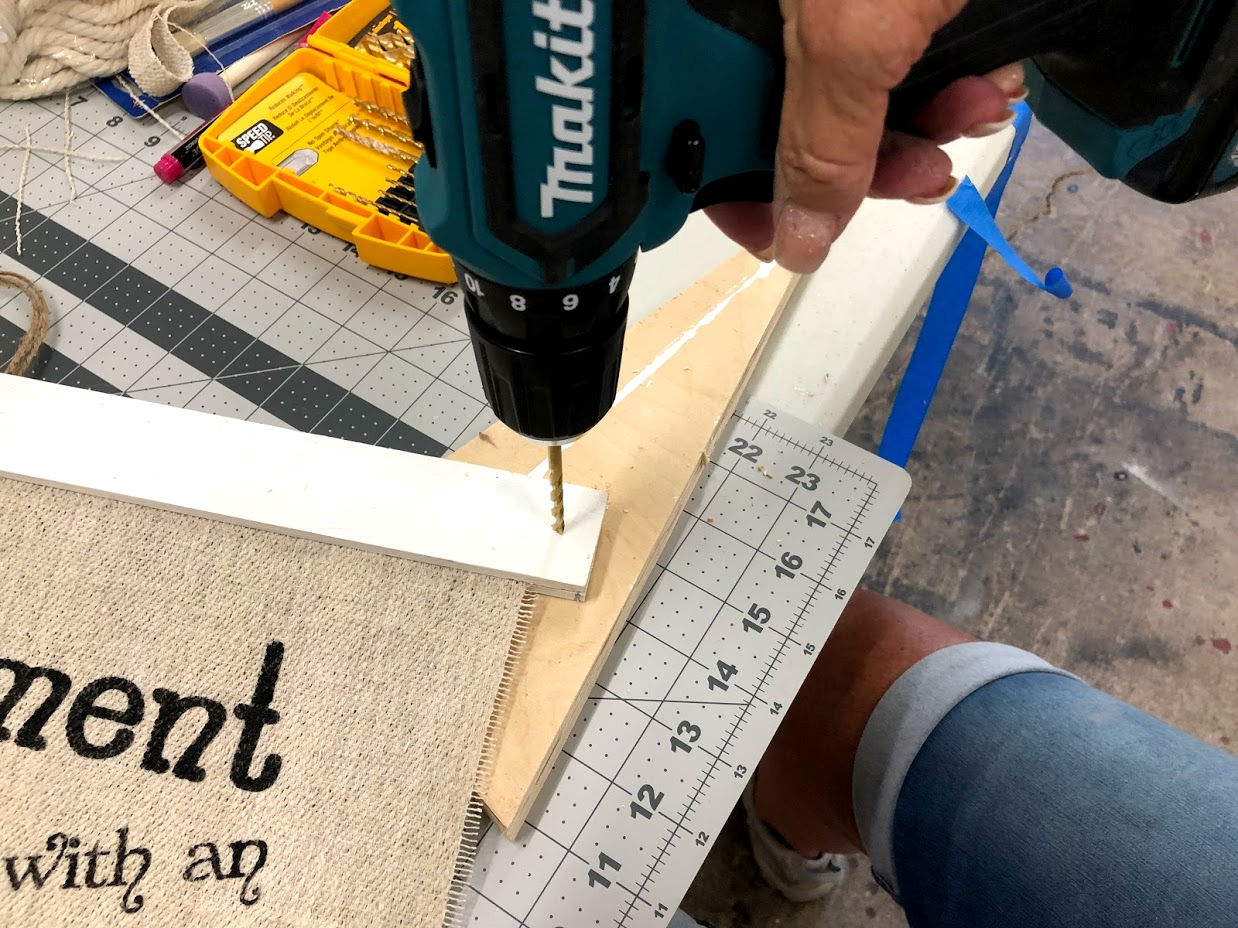
I measured out evenly where I wanted the holes to be drilled for the rope and drilled them.
My twine was a bit small so I doubled it to give it more strength. Taped the ends of the rope so it would slide through the holes and tied the knots.
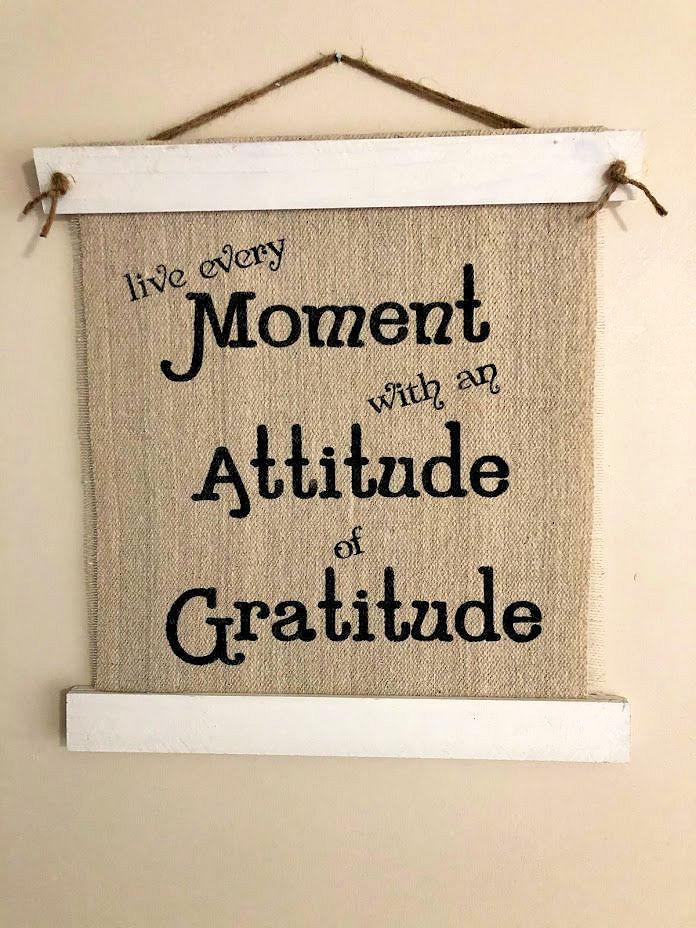
I am so very grateful that I was able to make this and love the way it turned out. It will hang in a part of the house that will be able to be seen all during the day.
I also liked working with the painter’s canvas and the stencil I have several more projects in mind now that I will be bringing to life.
Catch ya later!